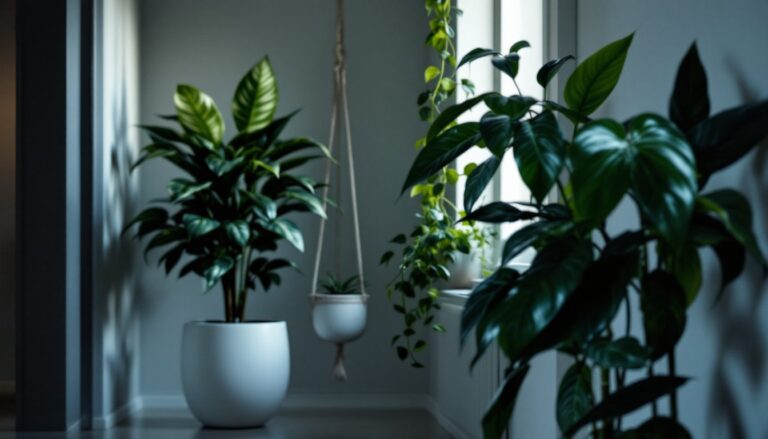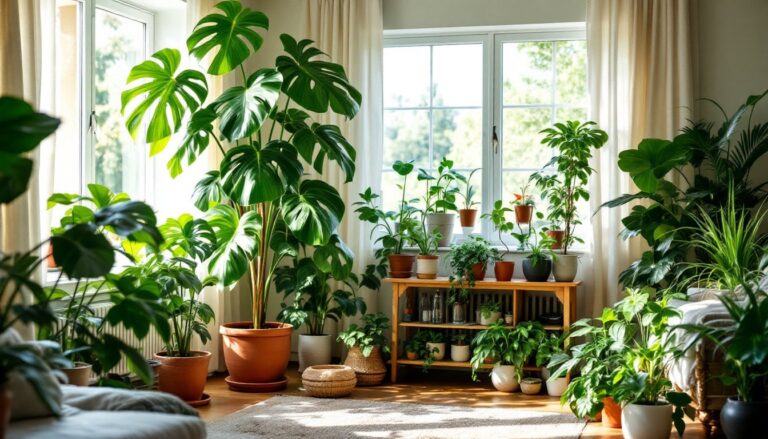
Indoor plants brighten up any room, but here’s the catch: most homes don’t get enough natural light to keep houseplants truly thriving. That’s where LED grow lights come in. They’re no longer the expensive, energy-draining fixtures of a decade ago, today’s LED grow lights are affordable, efficient, and designed specifically to mimic the spectrum plants need at every growth stage. Whether you’re growing herbs on a kitchen shelf or starting seedlings for spring, understanding how to choose and use an LED grow light can mean the difference between struggling plants and ones that actually flourish indoors.
Table of Contents
ToggleKey Takeaways
- Modern LED grow lights for indoor plants are affordable, efficient, and use 40–60% less electricity than traditional setups while lasting 25,000+ hours.
- Plants thrive under specific light spectrums: blue light (400–500 nm) promotes leafy, compact vegetative growth, while red light (600–700 nm) triggers flowering and fruiting.
- Position your LED grow light 12–24 inches above the plant canopy and use a timer set for 14–16 hours daily for vegetative growth or 12 hours for flowering phases.
- Calculate coverage by measuring your growing area first and matching wattage accordingly: a 2×2-foot shelf needs 100–150 watts, while a 4×4-foot section requires 400+ watts.
- Check the PPFD (photosynthetic photon flux density) rating rather than raw wattage alone—most leafy greens need 30–50 µmol/m²/s, while flowering plants prefer 400–600 µmol/m²/s.
- Dust LED grow light panels monthly and acclimate plants gradually to new lighting over two weeks to prevent leaf burn and ensure healthy, vigorous indoor plant growth.
Why LED Grow Lights Are Essential For Indoor Plant Success
Natural sunlight varies wildly depending on where you live, the season, and what direction your windows face. North-facing windows rarely offer enough PAR (photosynthetically active radiation) for photosynthesis to happen at full strength. Your plant sits there, slowly declining, and you wonder why it’s not growing.
LED grow lights solve this by delivering concentrated light energy in the exact wavelengths plants use most efficiently. Unlike old incandescent or fluorescent bulbs, modern full-spectrum LED panels waste minimal energy as heat, use about 40–60% less electricity than traditional growing setups, and last 25,000+ hours, that’s years of use on a single fixture.
There’s also a practical timeline advantage. With consistent, controlled lighting, indoor house plants reach their growth potential faster. Seedlings germinate more reliably, herbs stay bushy and productive, and succulents or tropical plants that normally sulk in low light suddenly show real vigor. That’s why serious indoor gardeners, from apartment dwellers to plant collectors, have made LED grow lights a standard tool, not a luxury.
Understanding Light Spectrum And Plant Growth Requirements
Plants don’t just need “light”, they need the right color of light at the right stage of growth. This comes down to spectrum, measured in nanometers (nm), and it’s why a standard household bulb won’t cut it for serious growing.
The visible light spectrum ranges from about 380 nm (deep violet) to 750 nm (far red). Plants are most sensitive to two main windows: blue light (400–500 nm) and red light (600–700 nm). A full-spectrum grow light combines both in varying ratios depending on what you’re growing.
Blue Light For Vegetative Growth
Blue light triggers compact, bushy growth with short internodes (the spaces between leaf nodes). If you’re growing leafy greens, herbs, or young seedlings, blue-heavy spectrums keep plants from getting tall and spindly. A ratio heavy in blue (think 5:1 or 3:1 blue-to-red) encourages strong stems, dark green foliage, and stocky architecture. Most general-purpose grow lights include 40–50% blue to cover this phase. Note that plants don’t stop photosynthesizing under blue light alone: it’s just the optimal ratio for vegetative vigor.
Red Light For Flowering And Fruiting
Red light triggers flowering, fruiting, and stem elongation. If you’re growing tomatoes, peppers, or houseplants that flower (like orchids or African violets), a ratio richer in red (closer to 1:2 or 1:3 blue-to-red) pushes energy into blooms and fruit set. This is why many grow light manufacturers offer switchable or dual-spectrum panels, you can dial in blue for vegetative growth and shift more toward red when the plant enters its reproductive phase. Resources like The Spruce and Gardenista’s grow light recommendations detail how spectrum changes plant morphology in practical terms.
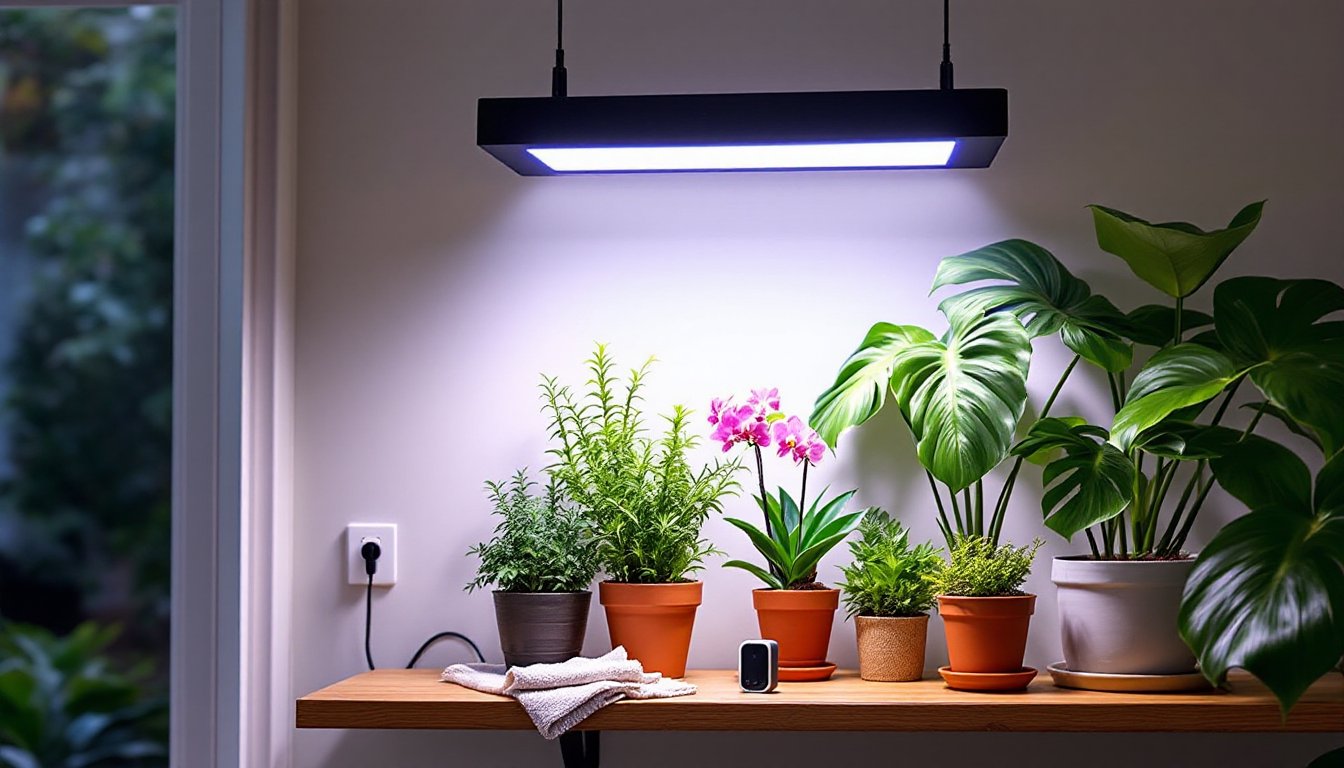
Choosing The Right LED Grow Light For Your Space
Not all LED grow lights are created equal. The key variables are wattage, coverage area, mounting height, and color temperature (measured in Kelvin, K). Before you buy, think about your actual growing space and what you’re actually growing.
Small tabletop fixtures (10–20 watts) work for a single potted herb or a small tray of microgreens. Larger panels (100–400 watts) suit shelving units or dedicated grow tents. The bigger the footprint you want to light and the farther from the plants you want to mount it, the higher the wattage you’ll need.
Color temperature is separate from spectrum. Full-spectrum lights for grow applications typically range from 5,000K to 6,500K (cool white, emphasizing blue) or 2,700K to 3,000K (warm white, emphasizing red). Many quality fixtures blend both diodes into one panel, giving you flexibility without buying two separate units. Check the product specs for PPFD (photosynthetic photon flux density), which tells you how many photons hit your plant per second, a far more useful metric than raw wattage.
Calculating Wattage And Coverage Area
Here’s a rule of thumb: most leafy greens and herbs need 30–50 µmol/m²/s PPFD, while flowering plants prefer 400–600 µmol/m²/s. Standard grow light fixtures publish PPFD maps showing intensity at various distances. A 100-watt panel might cover 2–3 square feet at 12 inches: the same panel at 24 inches covers roughly 4–6 square feet but with lower intensity.
Measure your growing area first. If you’ve got a 2×2-foot shelf, a 100–150 watt panel positioned 12–18 inches above plants works well. If you’re lighting a 4×4-foot section, budget 400+ watts. Don’t just eyeball it, download the PPFD map from the manufacturer or use a cheap light meter ($15–30) to verify your actual light intensity at plant canopy height.
Budget-friendly options like Mars Hydro, Spider Farmer, and Monova offer solid mid-range panels in the $50–200 range with decent specs. Higher-end fixtures like Fluence or Gavita cost more but deliver better efficiency and proven reliability on large-scale setups. For a hobby grower, mid-range is honest advice, you don’t need aerospace-grade equipment, but very cheap panels (under $20) often lack proper spectrum balance and fail after a season.
Installation, Positioning, And Daily Setup
Installation varies by fixture type. Most LED panels come with mounting brackets, adjustable chains, or clamps designed for shelves, tent frames, or hanging hardware. Read the instructions, some fixtures have specific minimum clearances or cooling requirements (though most modern LEDs don’t throw much heat compared to older technology).
Positioning matters tremendously. Mount your light 12–24 inches above the plant canopy: this range covers most home growing situations. Too close risks leaf burn (yes, LED light can scorch leaves if intensity is excessive). Too far, and you’re wasting light and spreading PPFD below what’s useful. Adjust as your plants grow, keep that 12–24 inch gap constant.
Use a timer. Set it to mimic natural day length: 14–16 hours on for vegetative growth, 12 hours for flowering. Plants need darkness to carry out respiration and other physiological processes, so “more light all the time” doesn’t work. A simple plug-in timer ($10–20) handles this automatically.
Maintenance is light (pun intended). Dust the panel’s lens monthly with a soft, dry cloth, accumulated dust cuts light transmission by 10–20%. Check mounting hardware monthly for wobbling. LEDs don’t need bulb changes like fluorescents: just expect gradual output decline after 25,000 hours. Hunker’s home improvement guides detail smart home automation options if you want to integrate grow lights into a larger indoor setup.
One last tip: acclimate plants to grow lights. If a seedling or houseplant comes from a shaded indoor corner, don’t blast it with 16 hours of full intensity immediately. Start at 8 hours at medium distance, then increase over two weeks. Sudden light shock can bleach foliage, though it recovers.
For housing, your indoor large house plants benefit from consistent light positioning just as much as small seedlings do. The principles are identical, measure, position thoughtfully, and use a timer. Whether you’re running a propagation shelf or keeping a single monstera green year-round, LED grow lights are a practical, low-risk investment that visibly improves results within weeks.